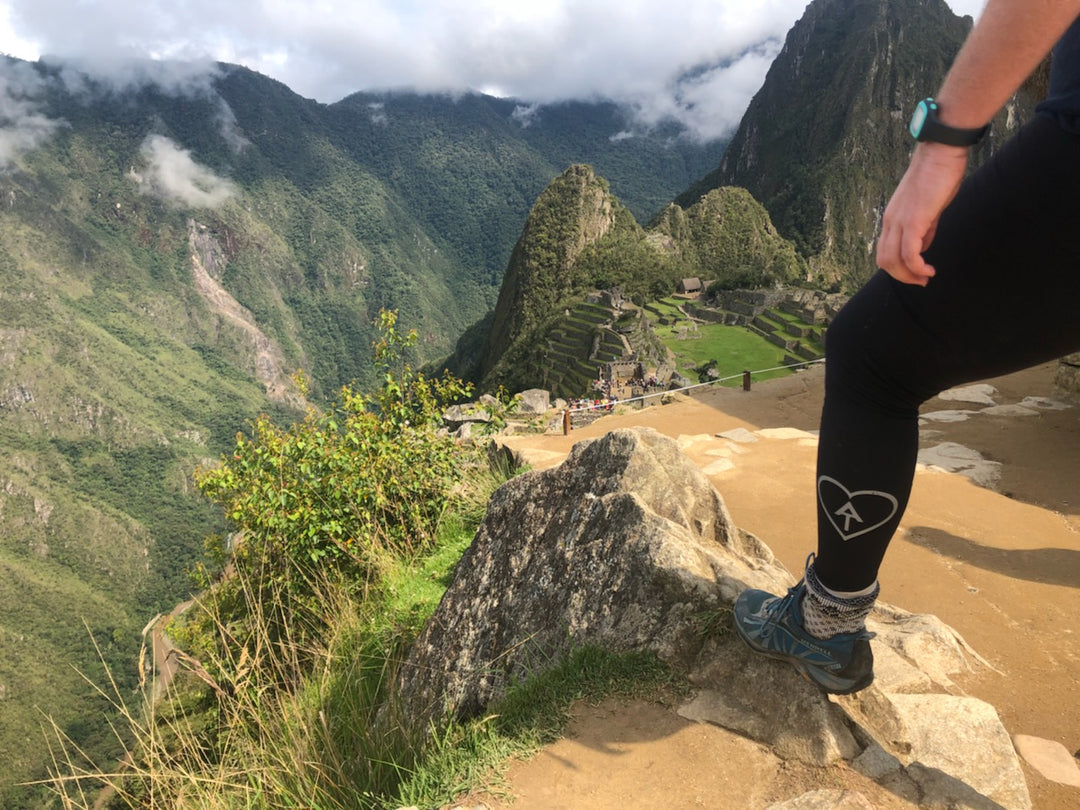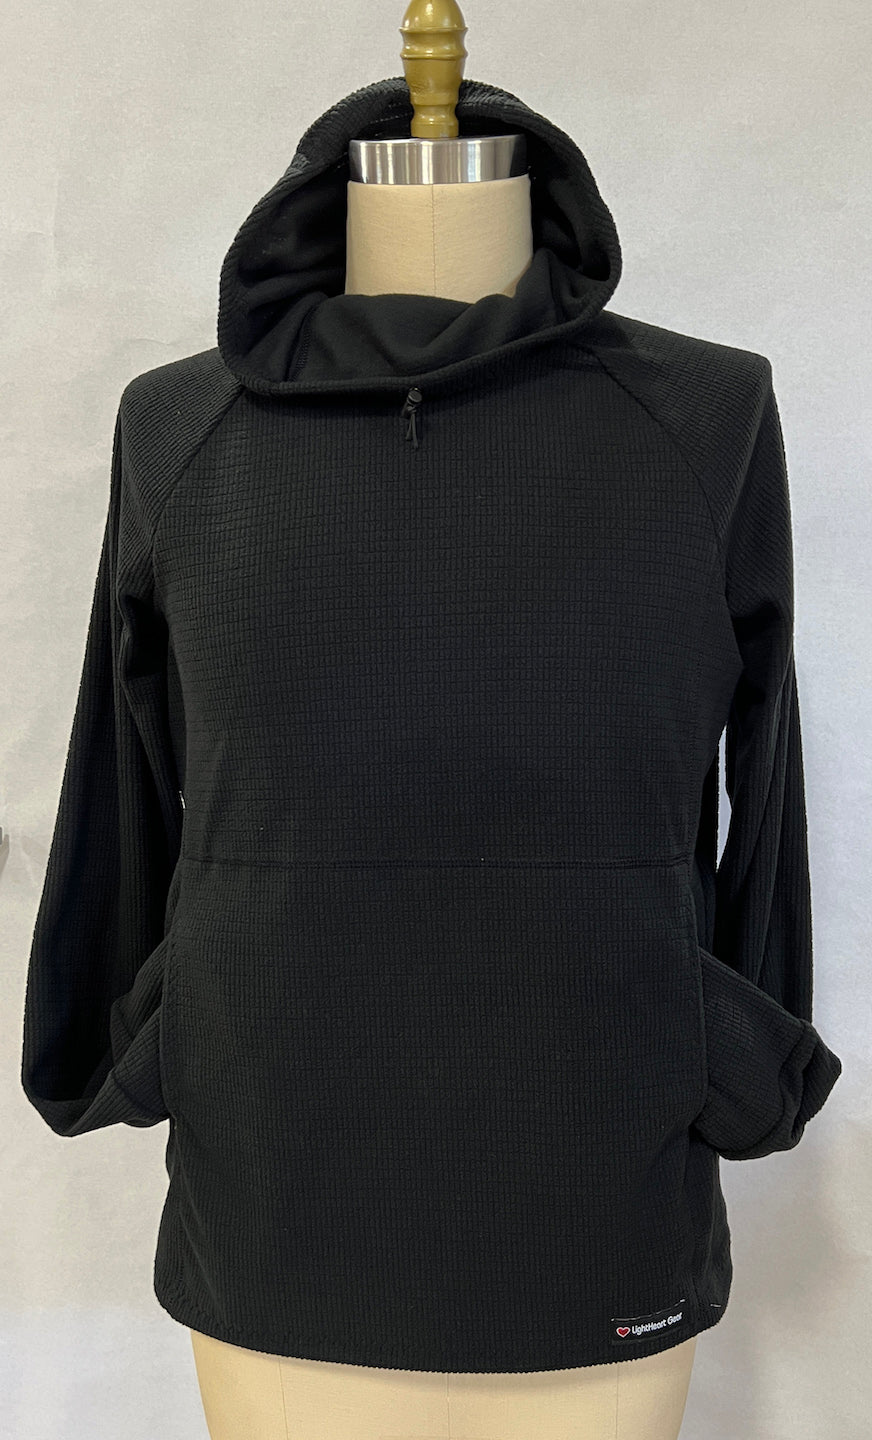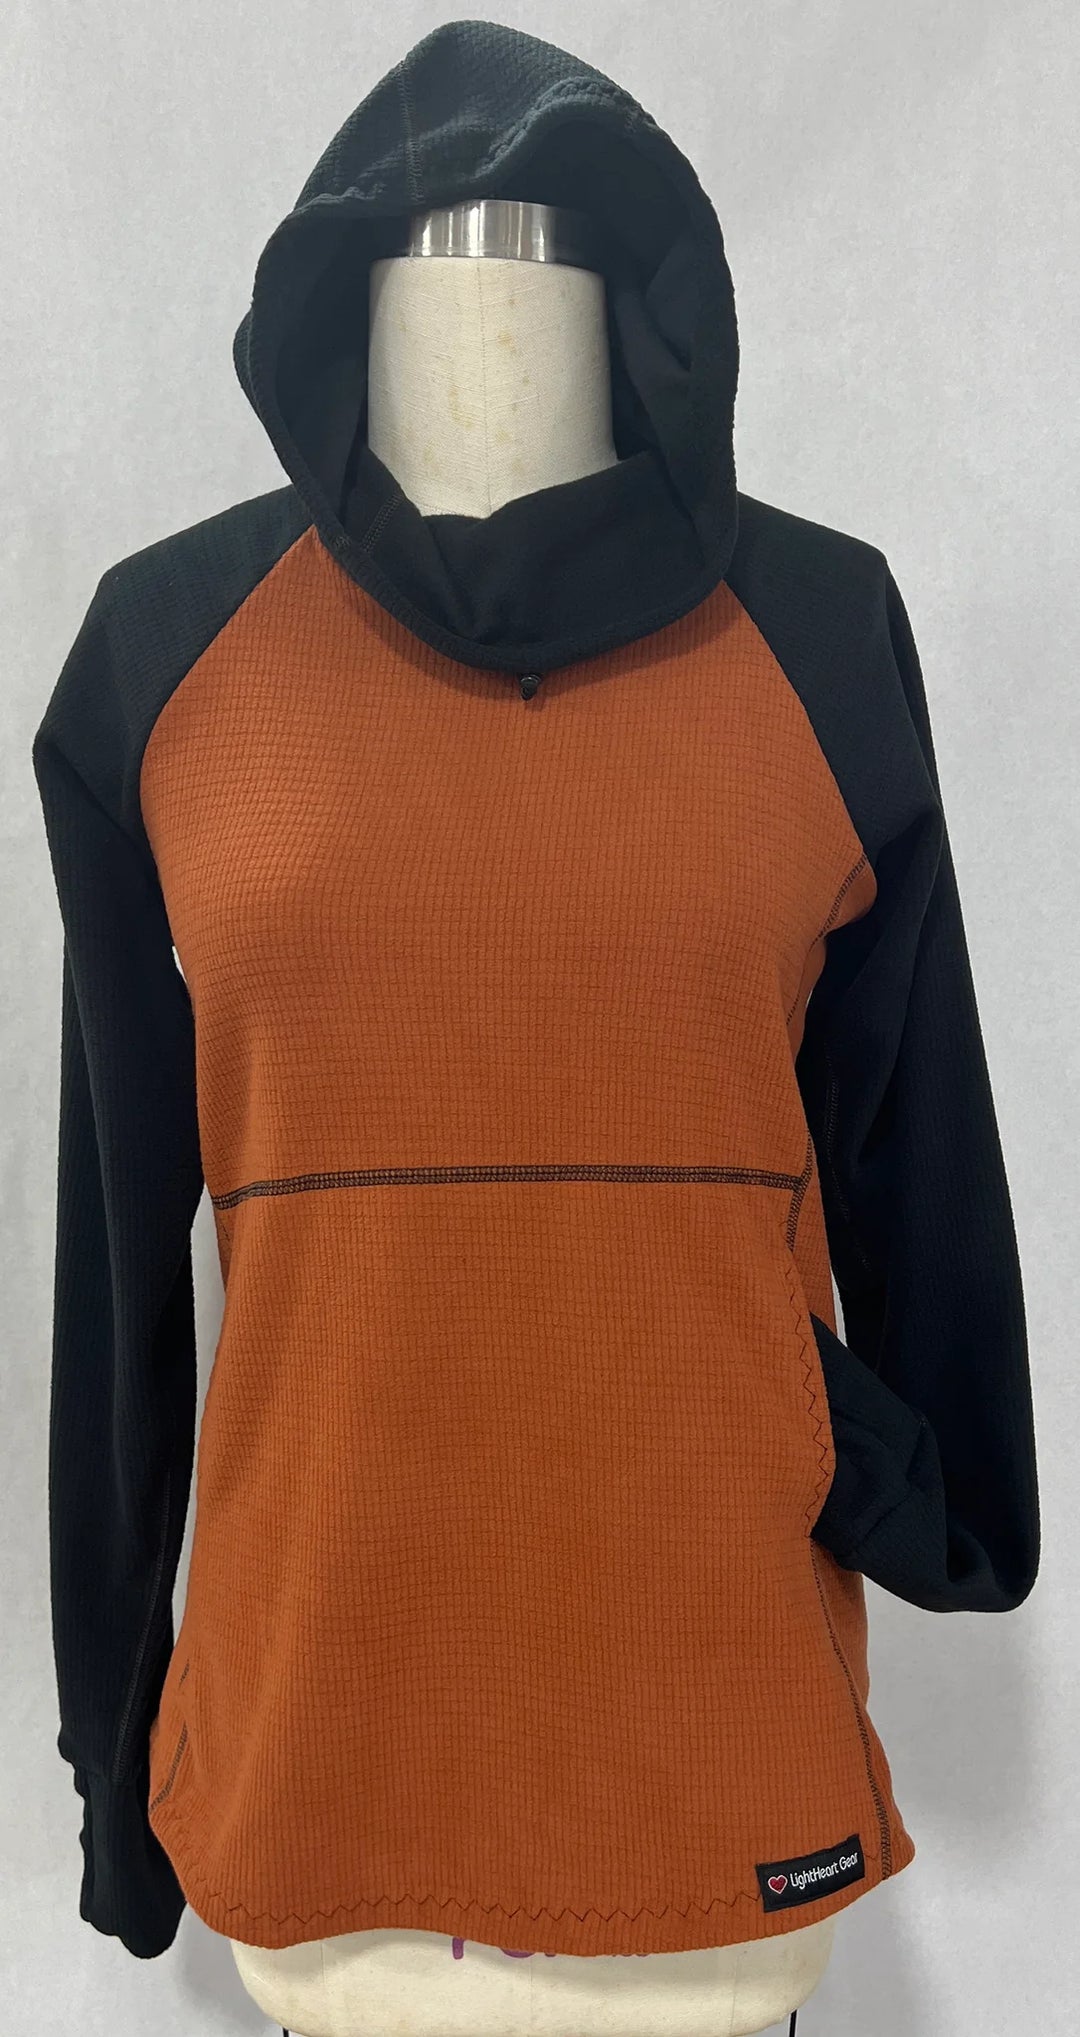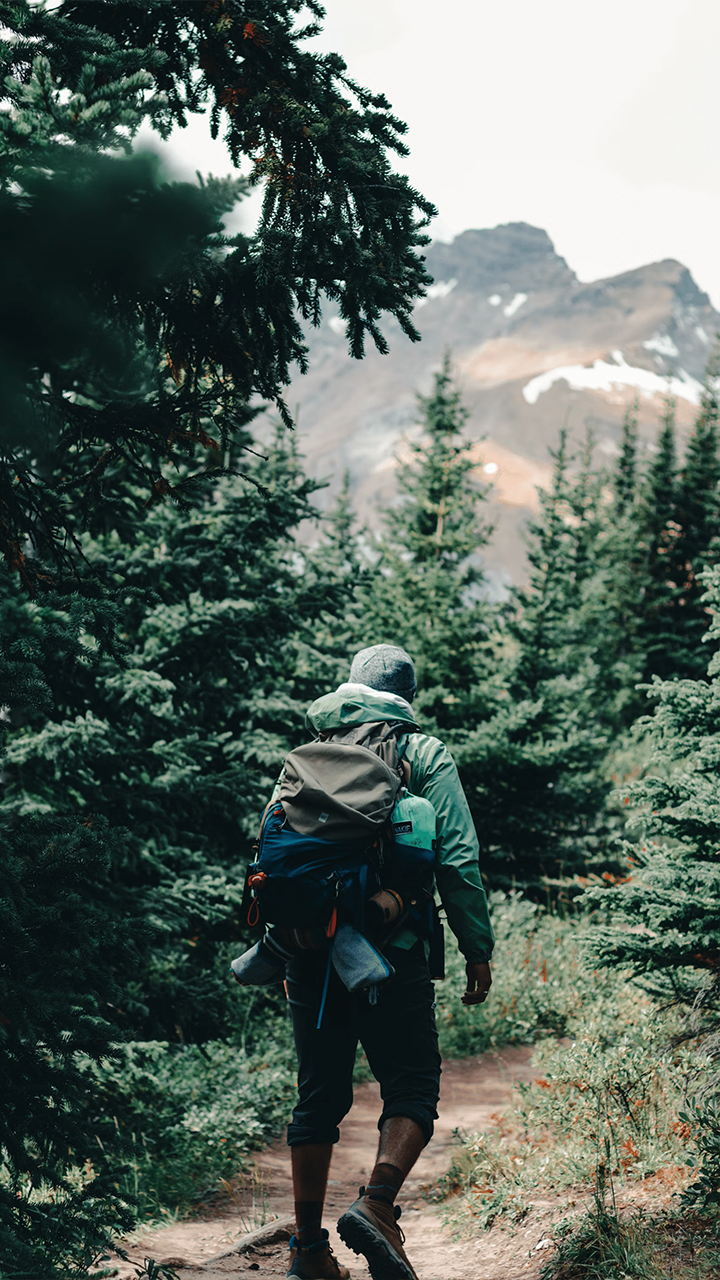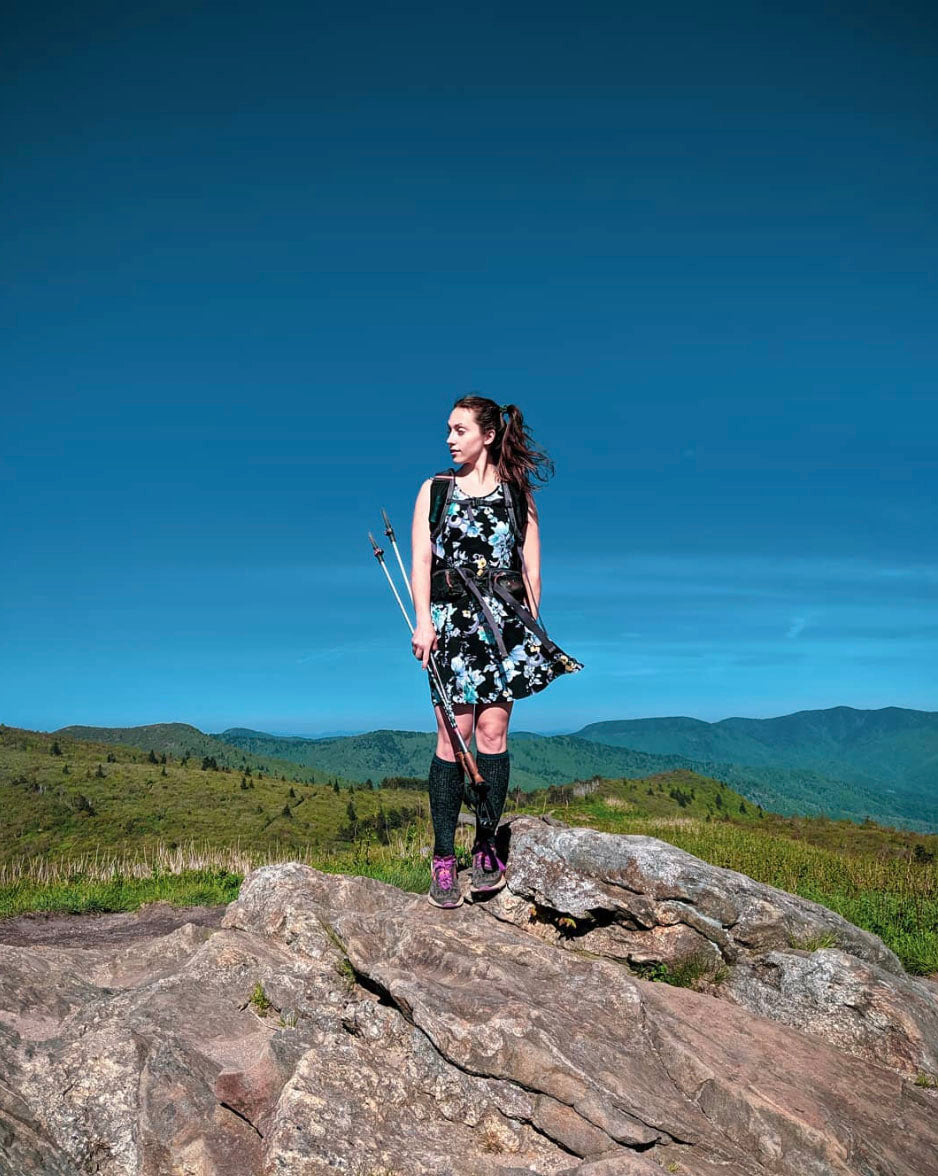
Made For Hikers
By Hikers
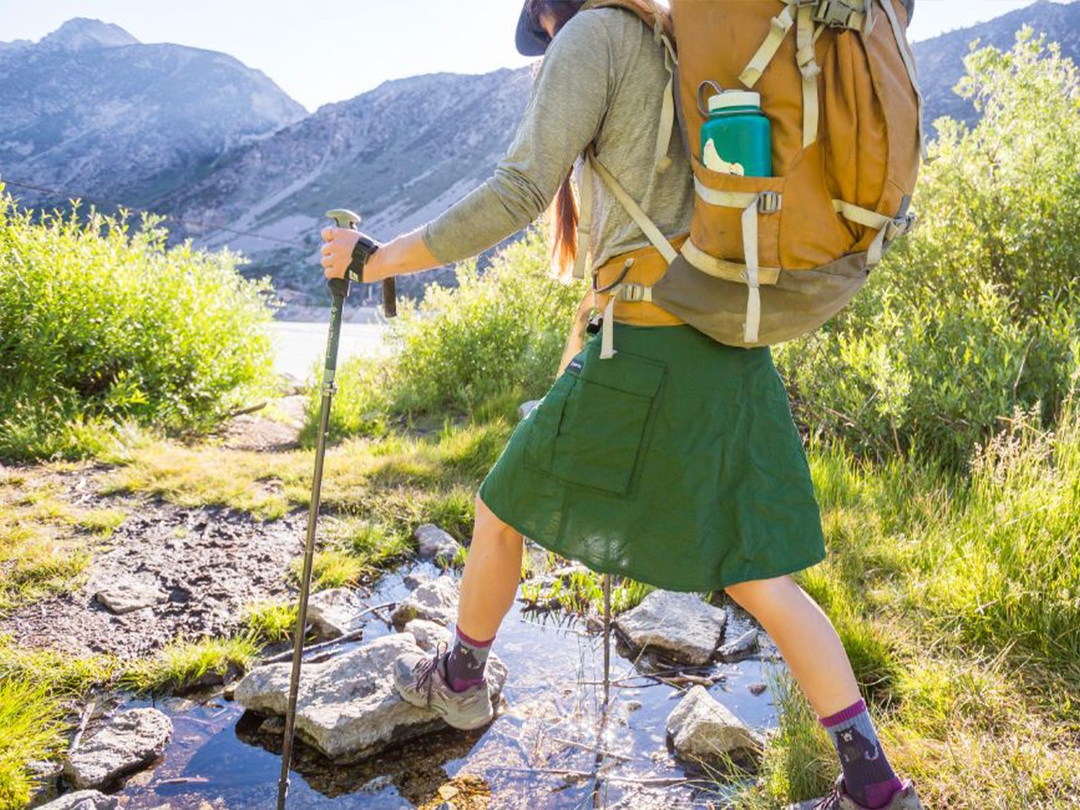
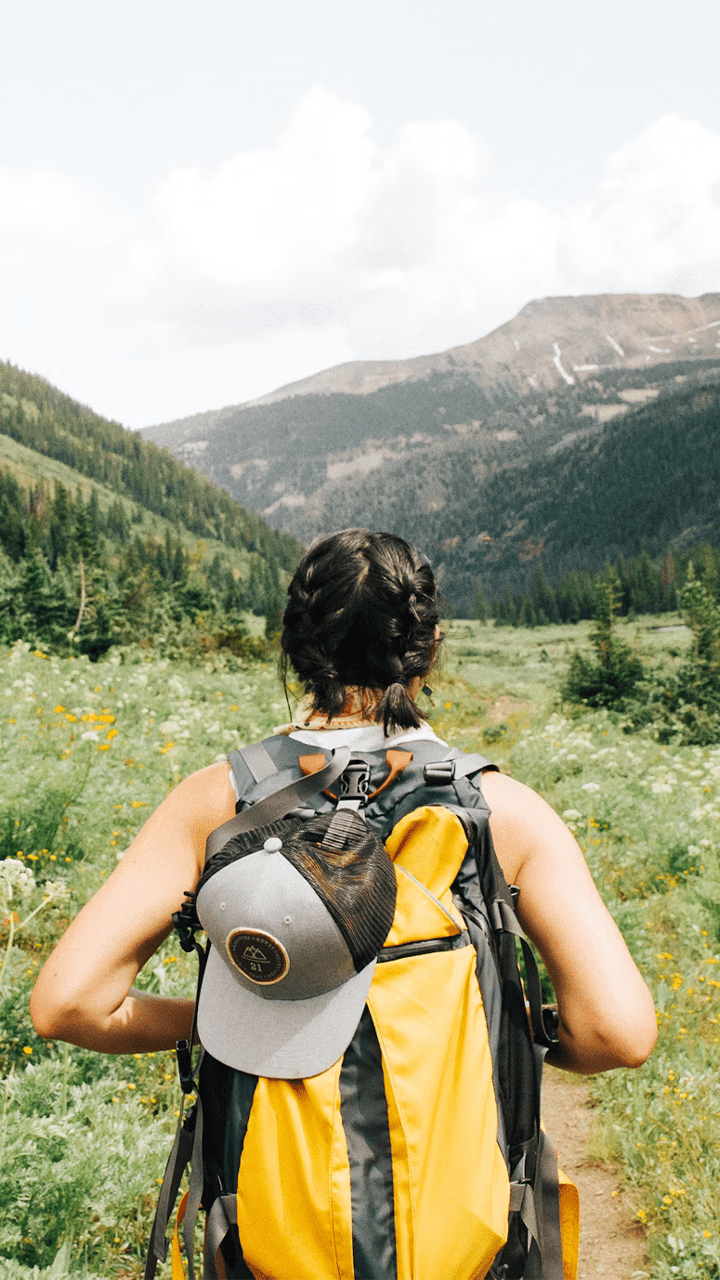
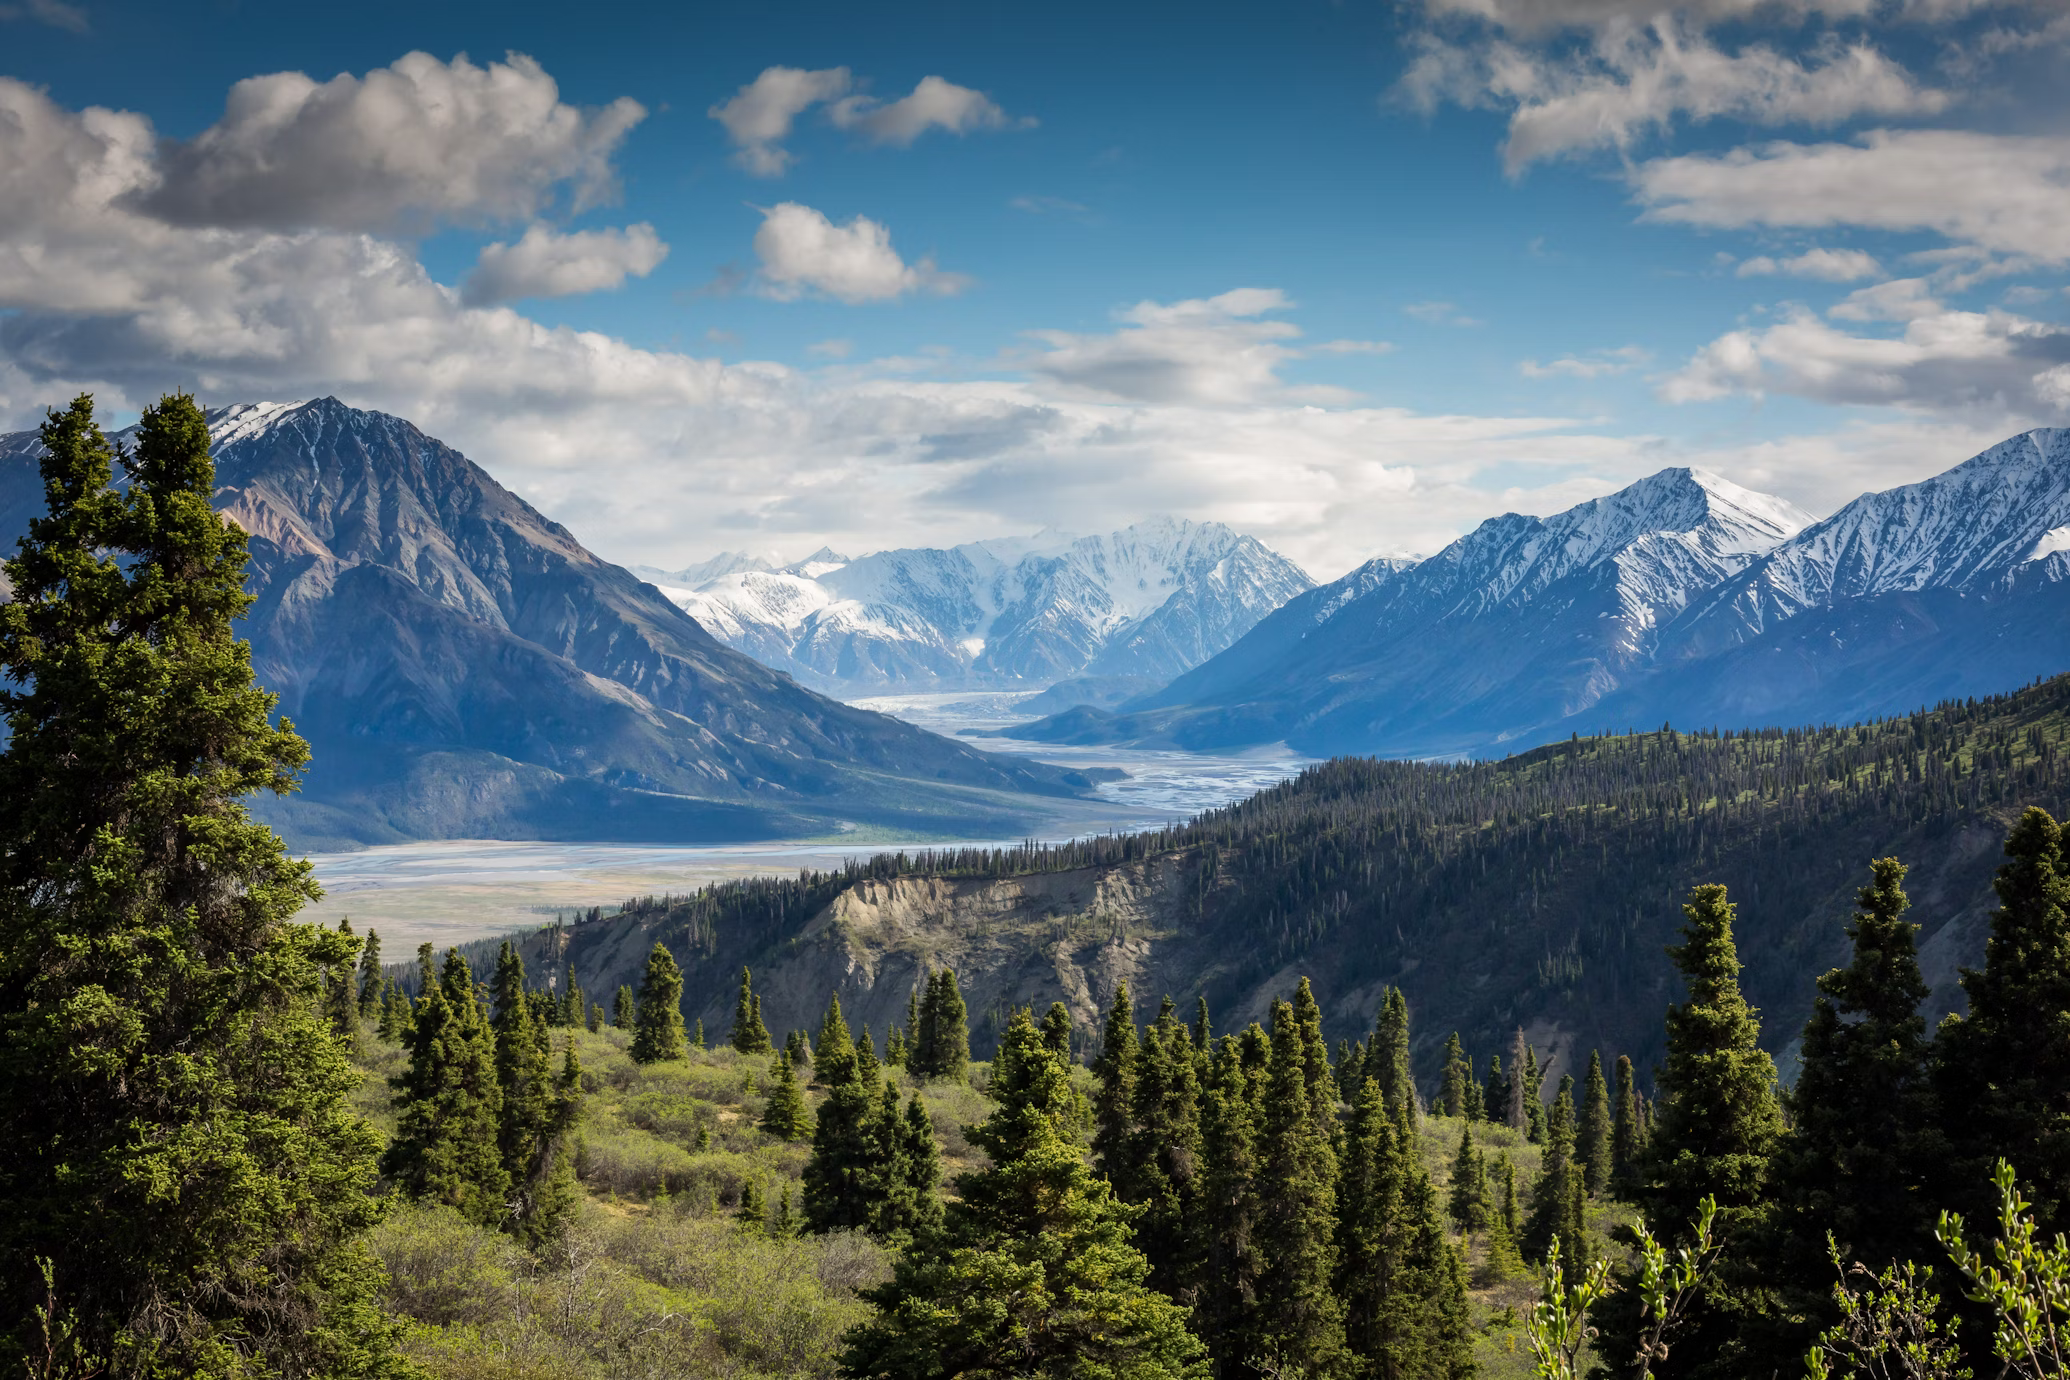
Made For Hikers
By Hikers
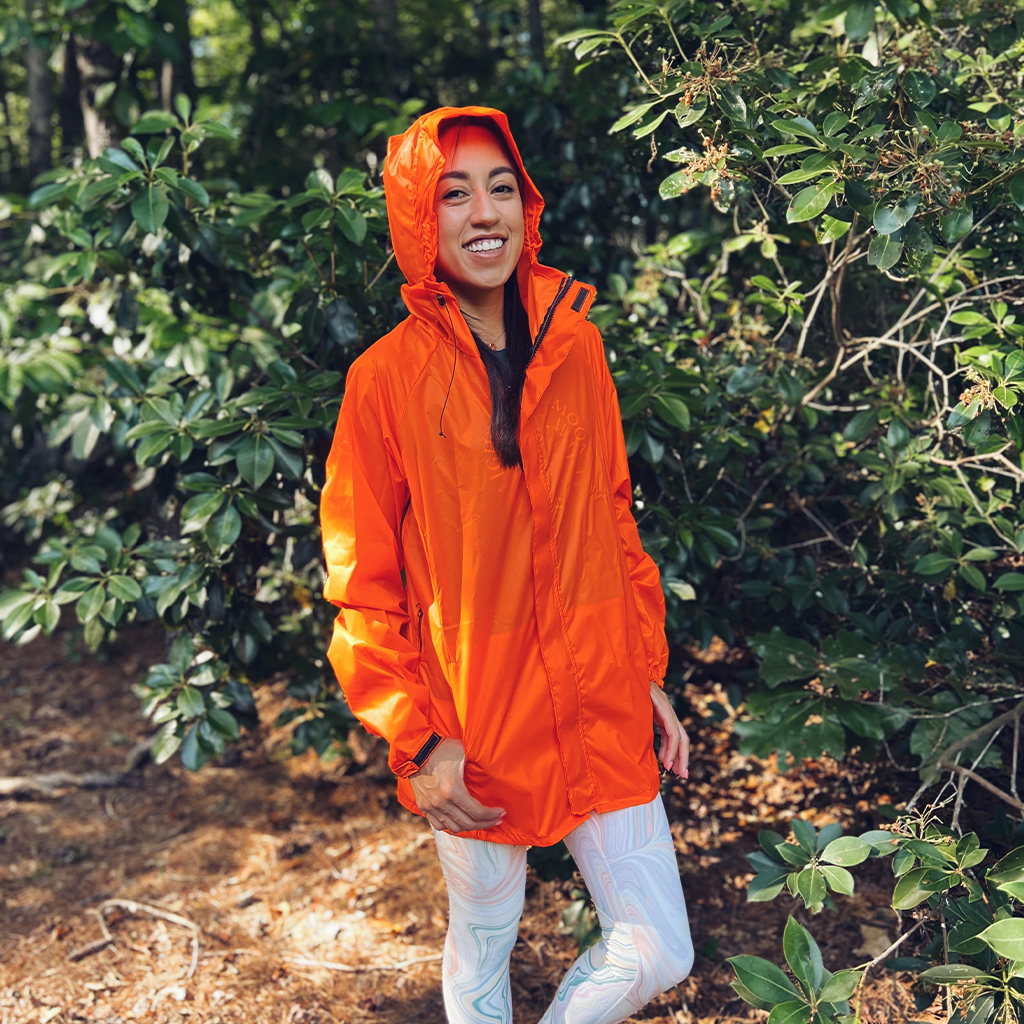
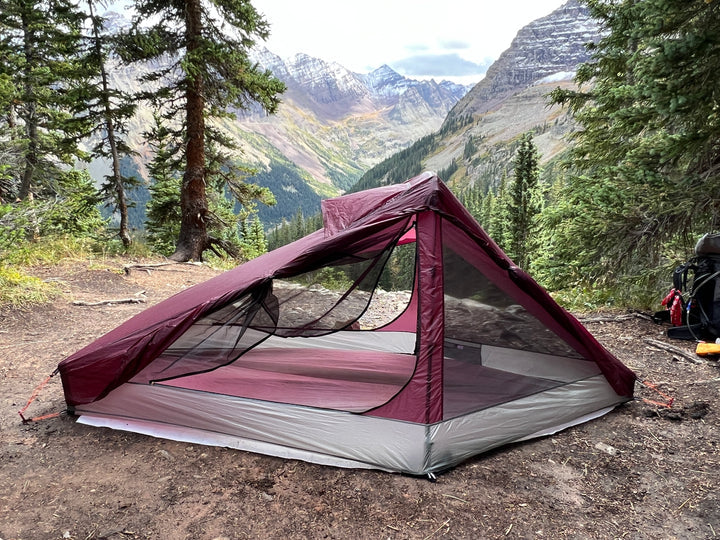
By Hikers
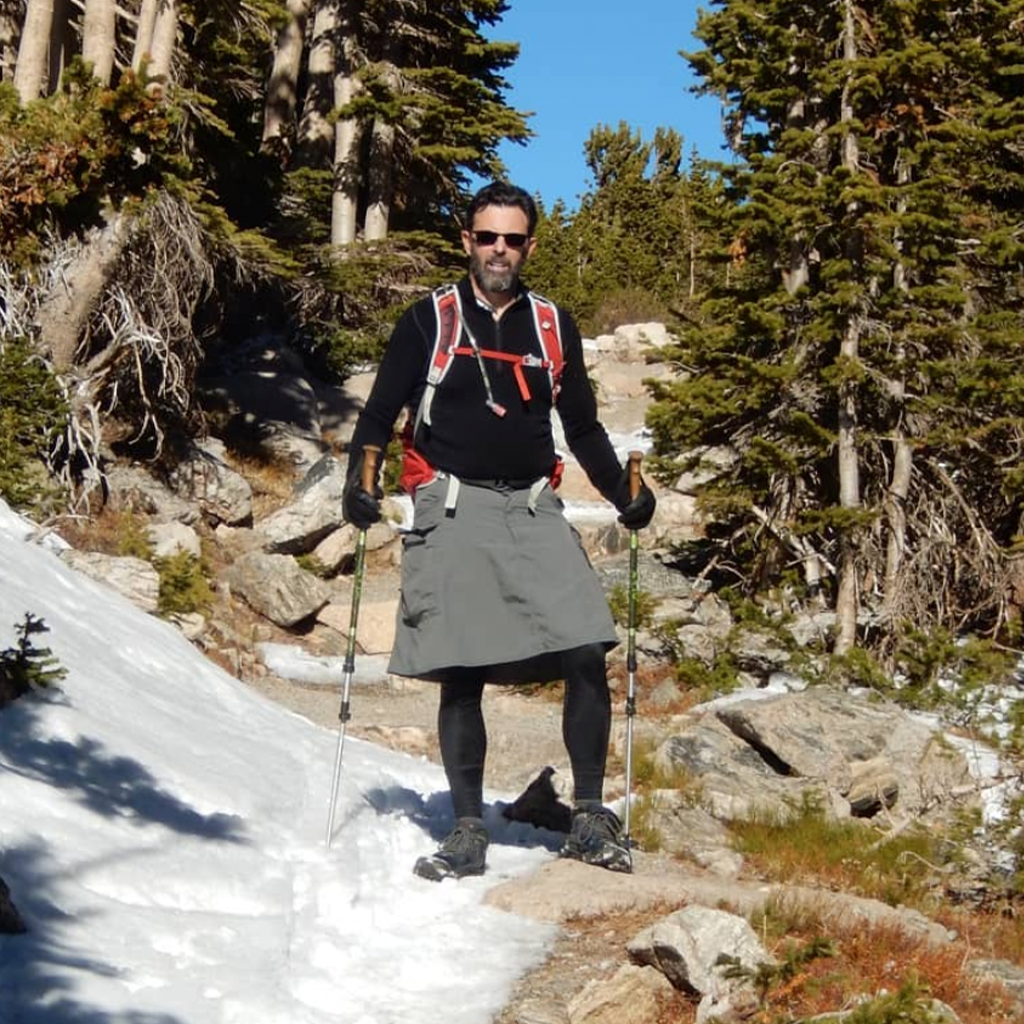
Made in the USA
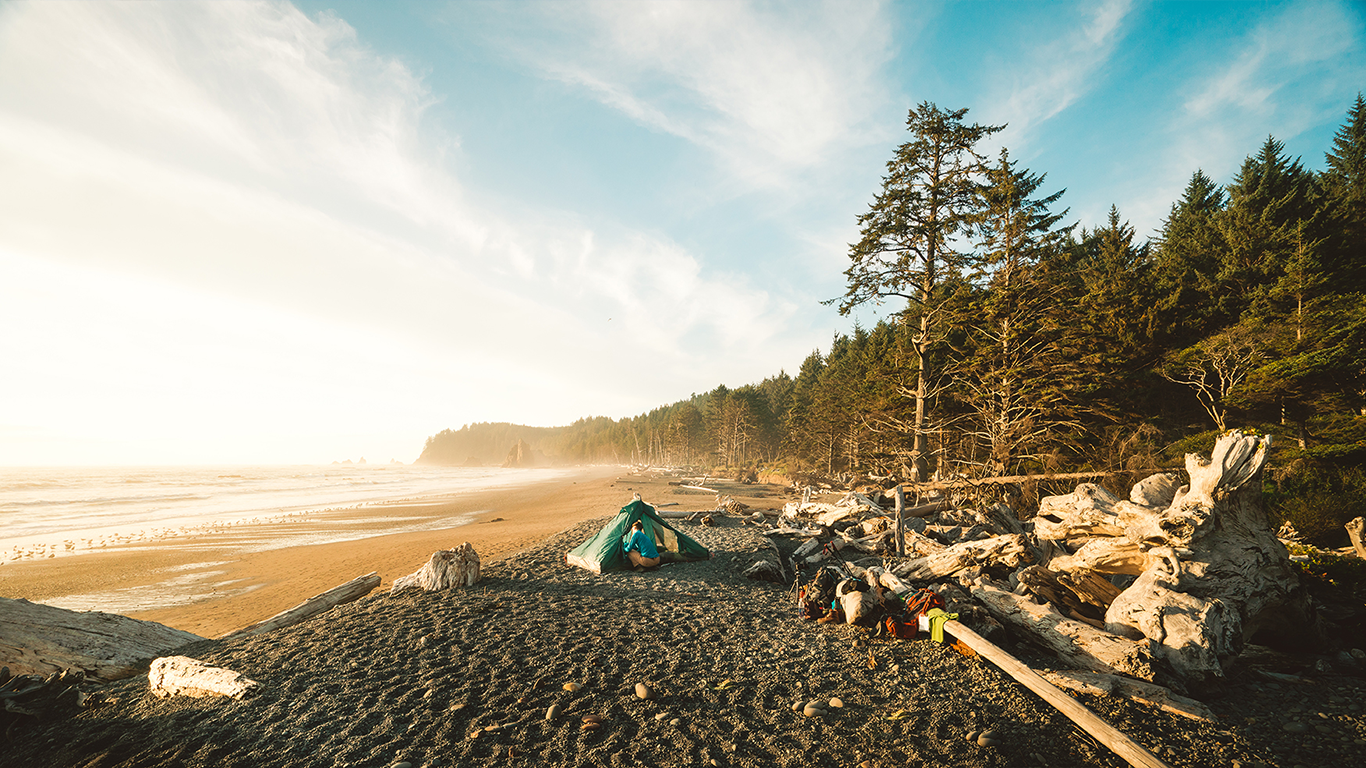
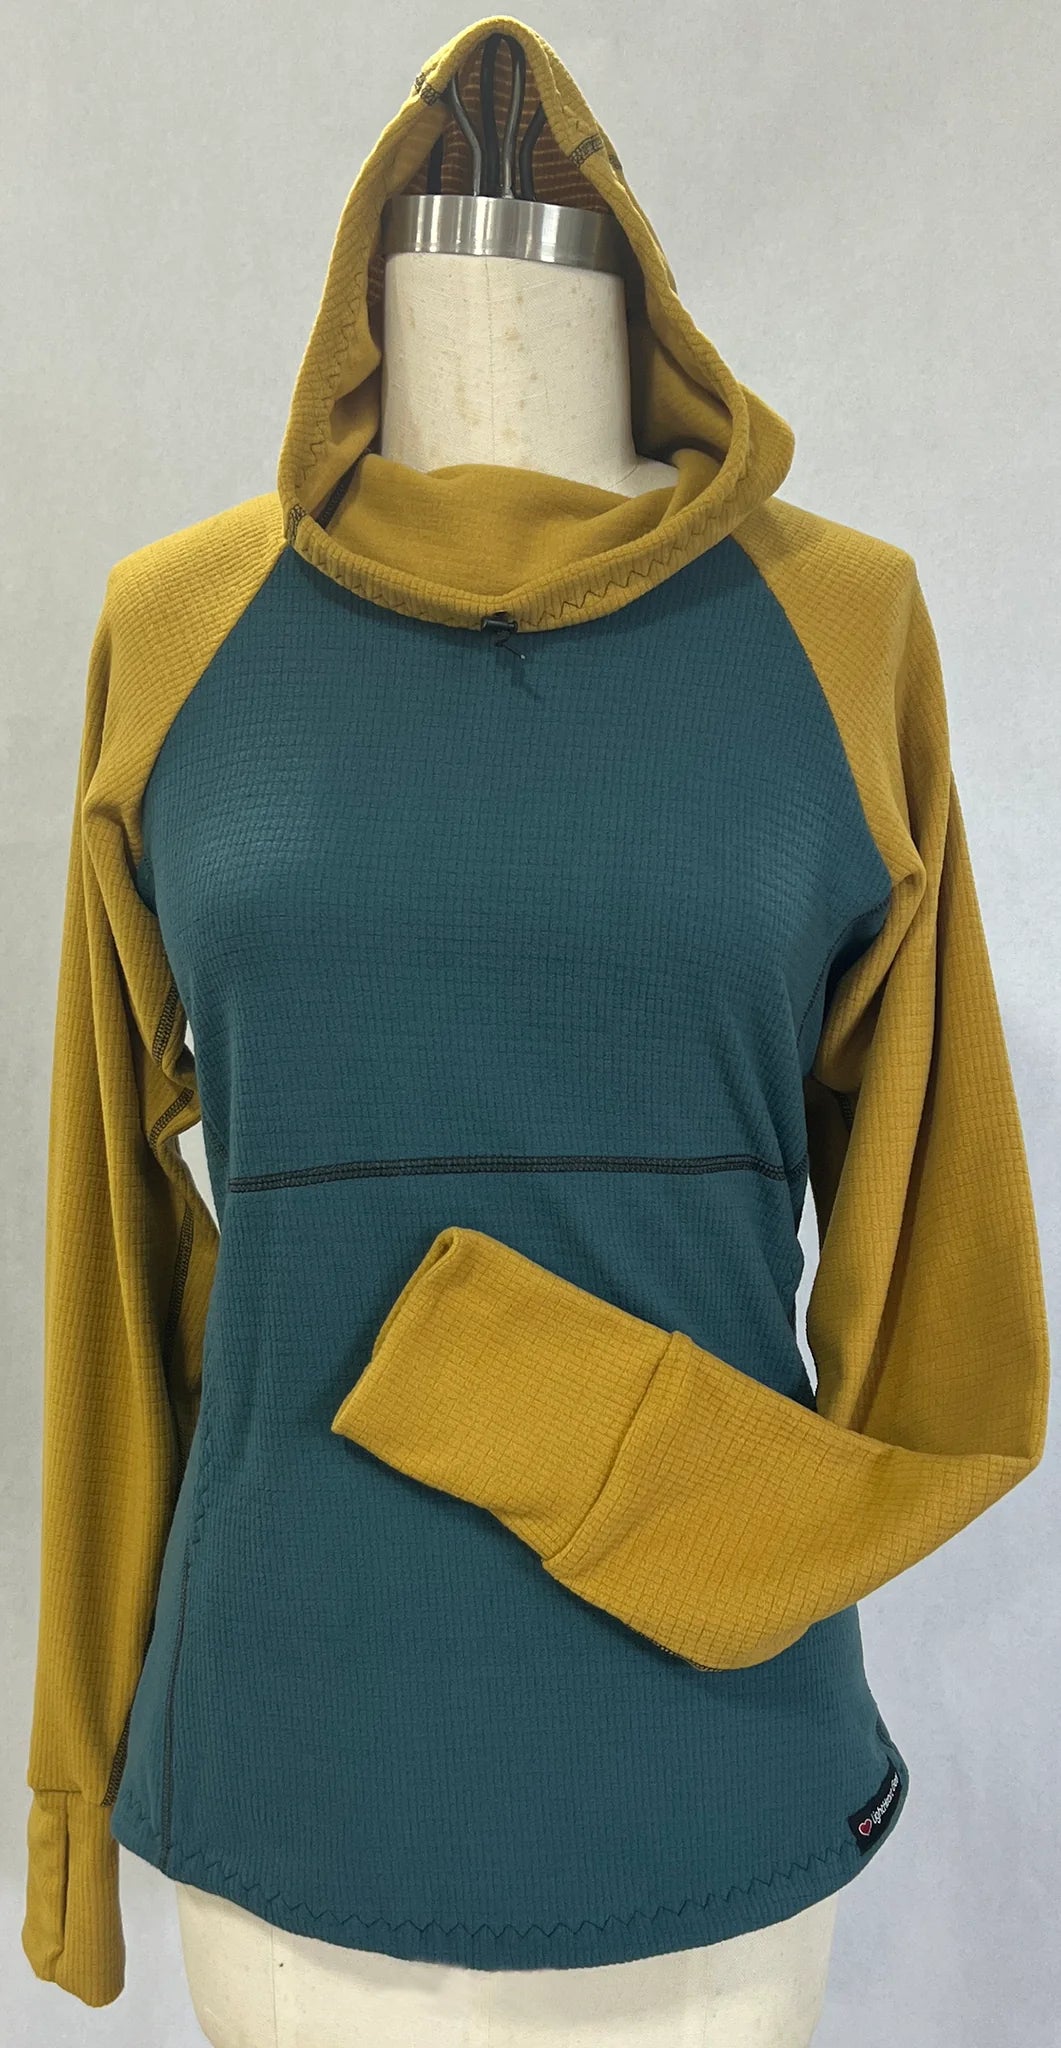
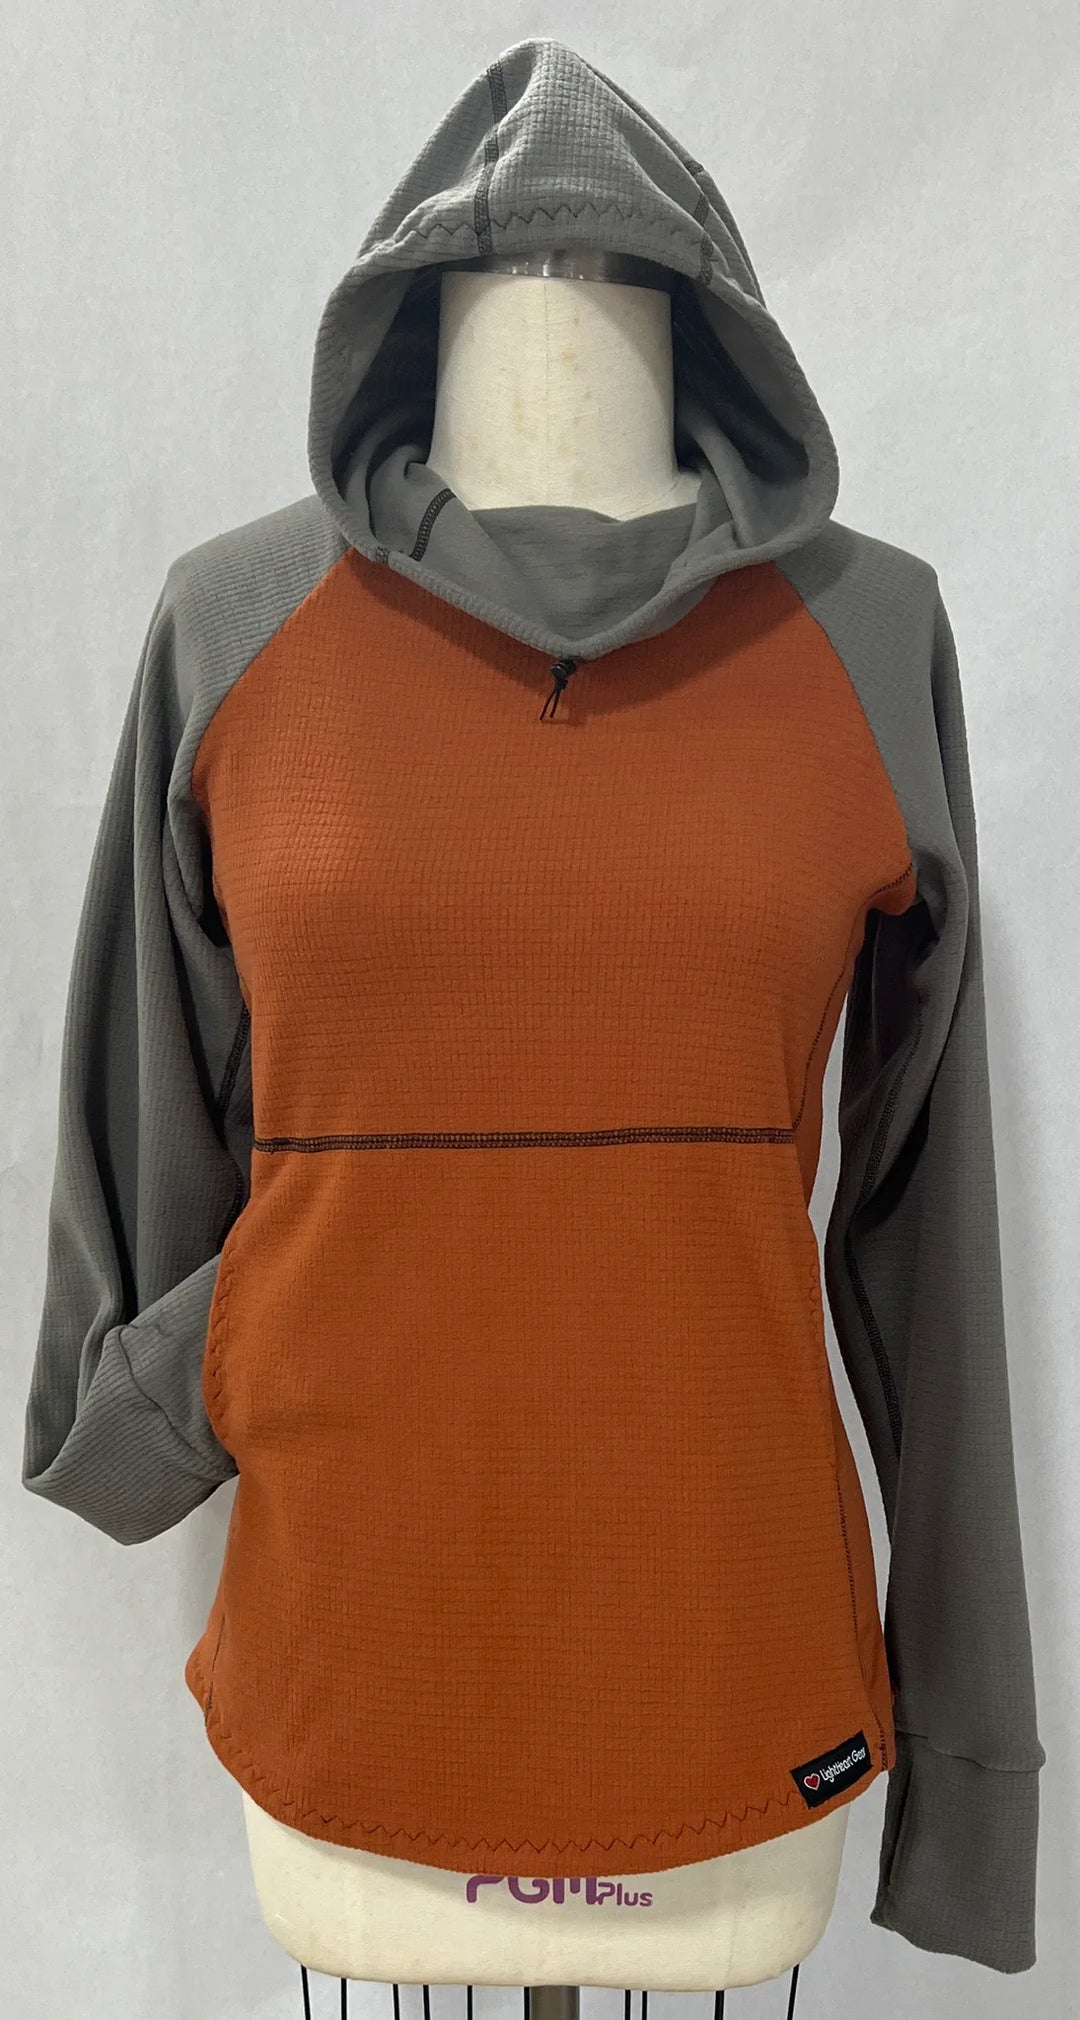
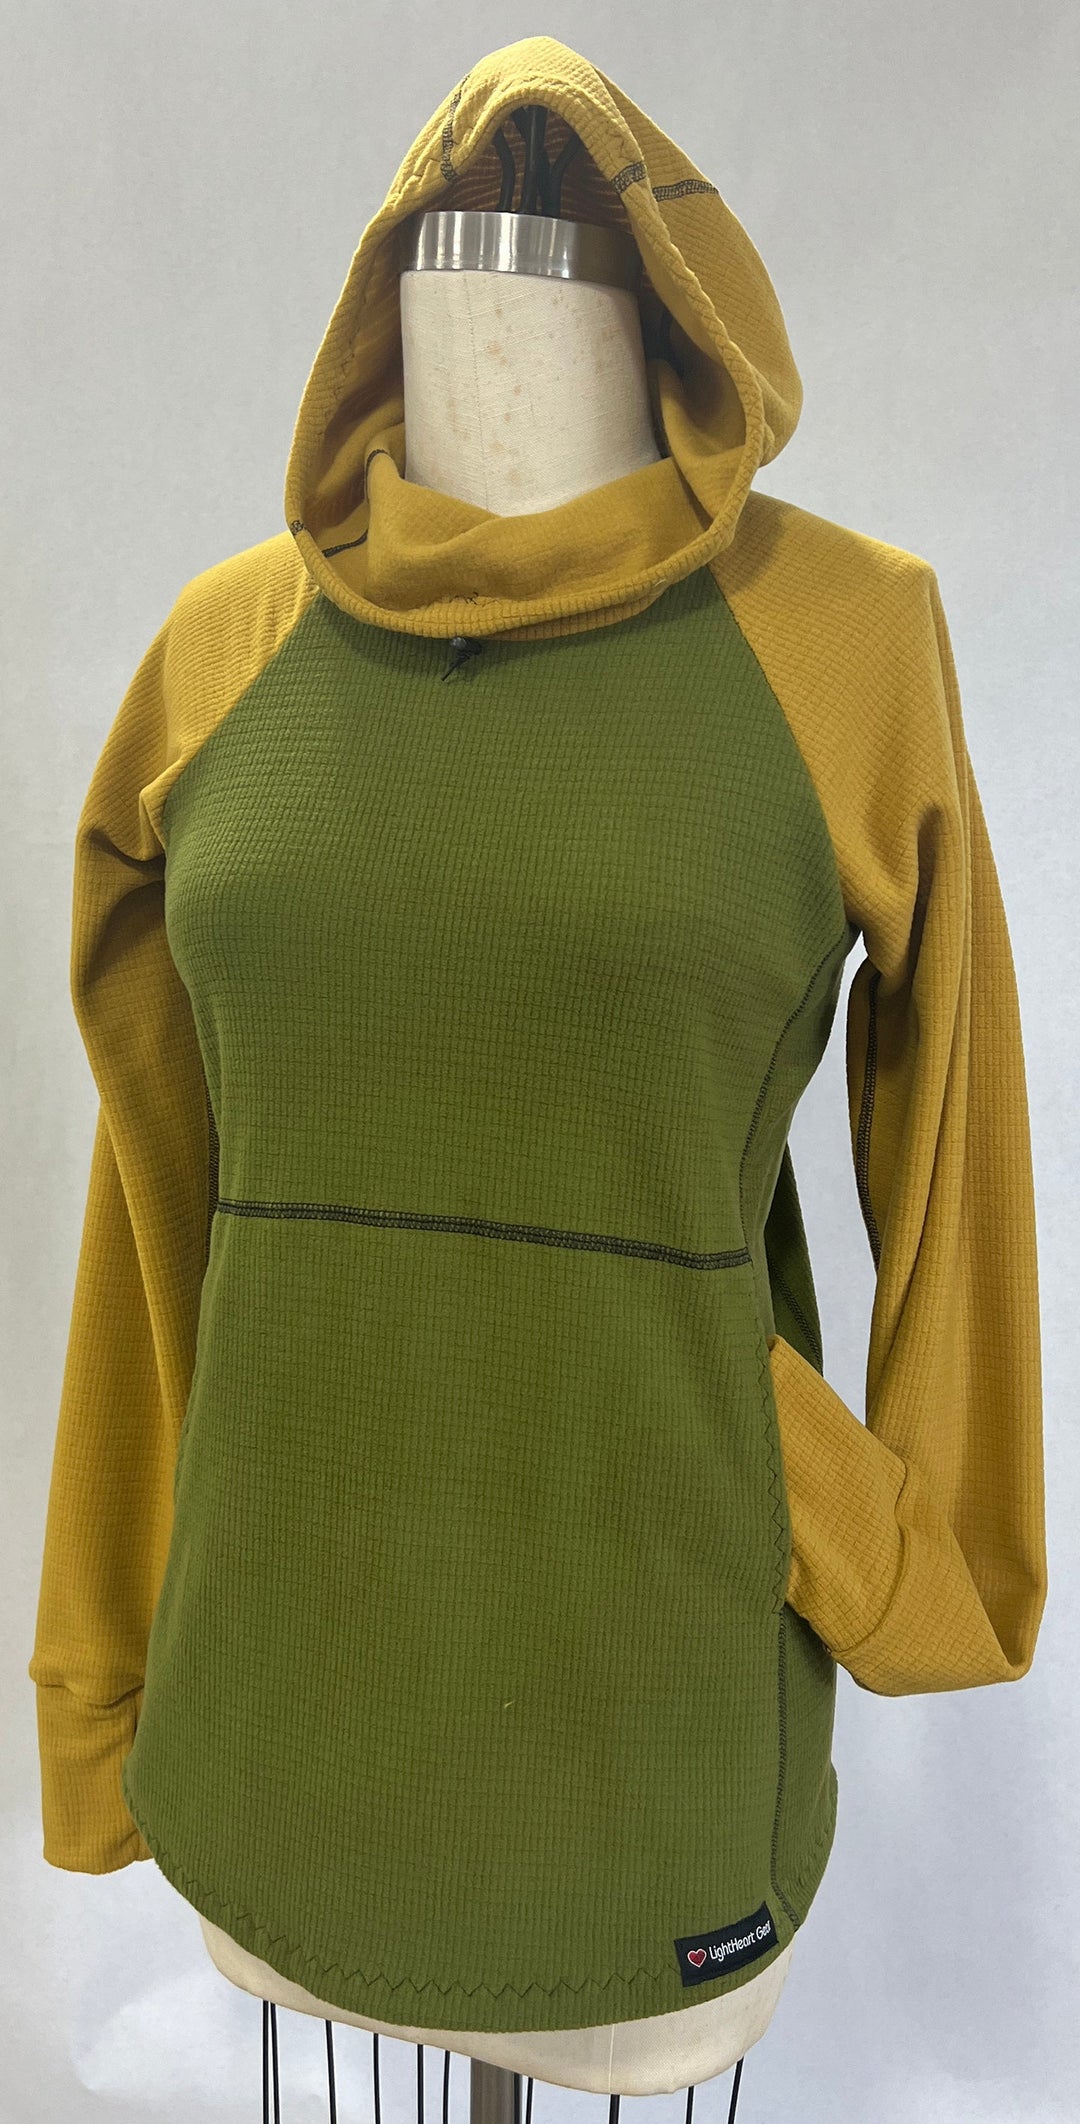
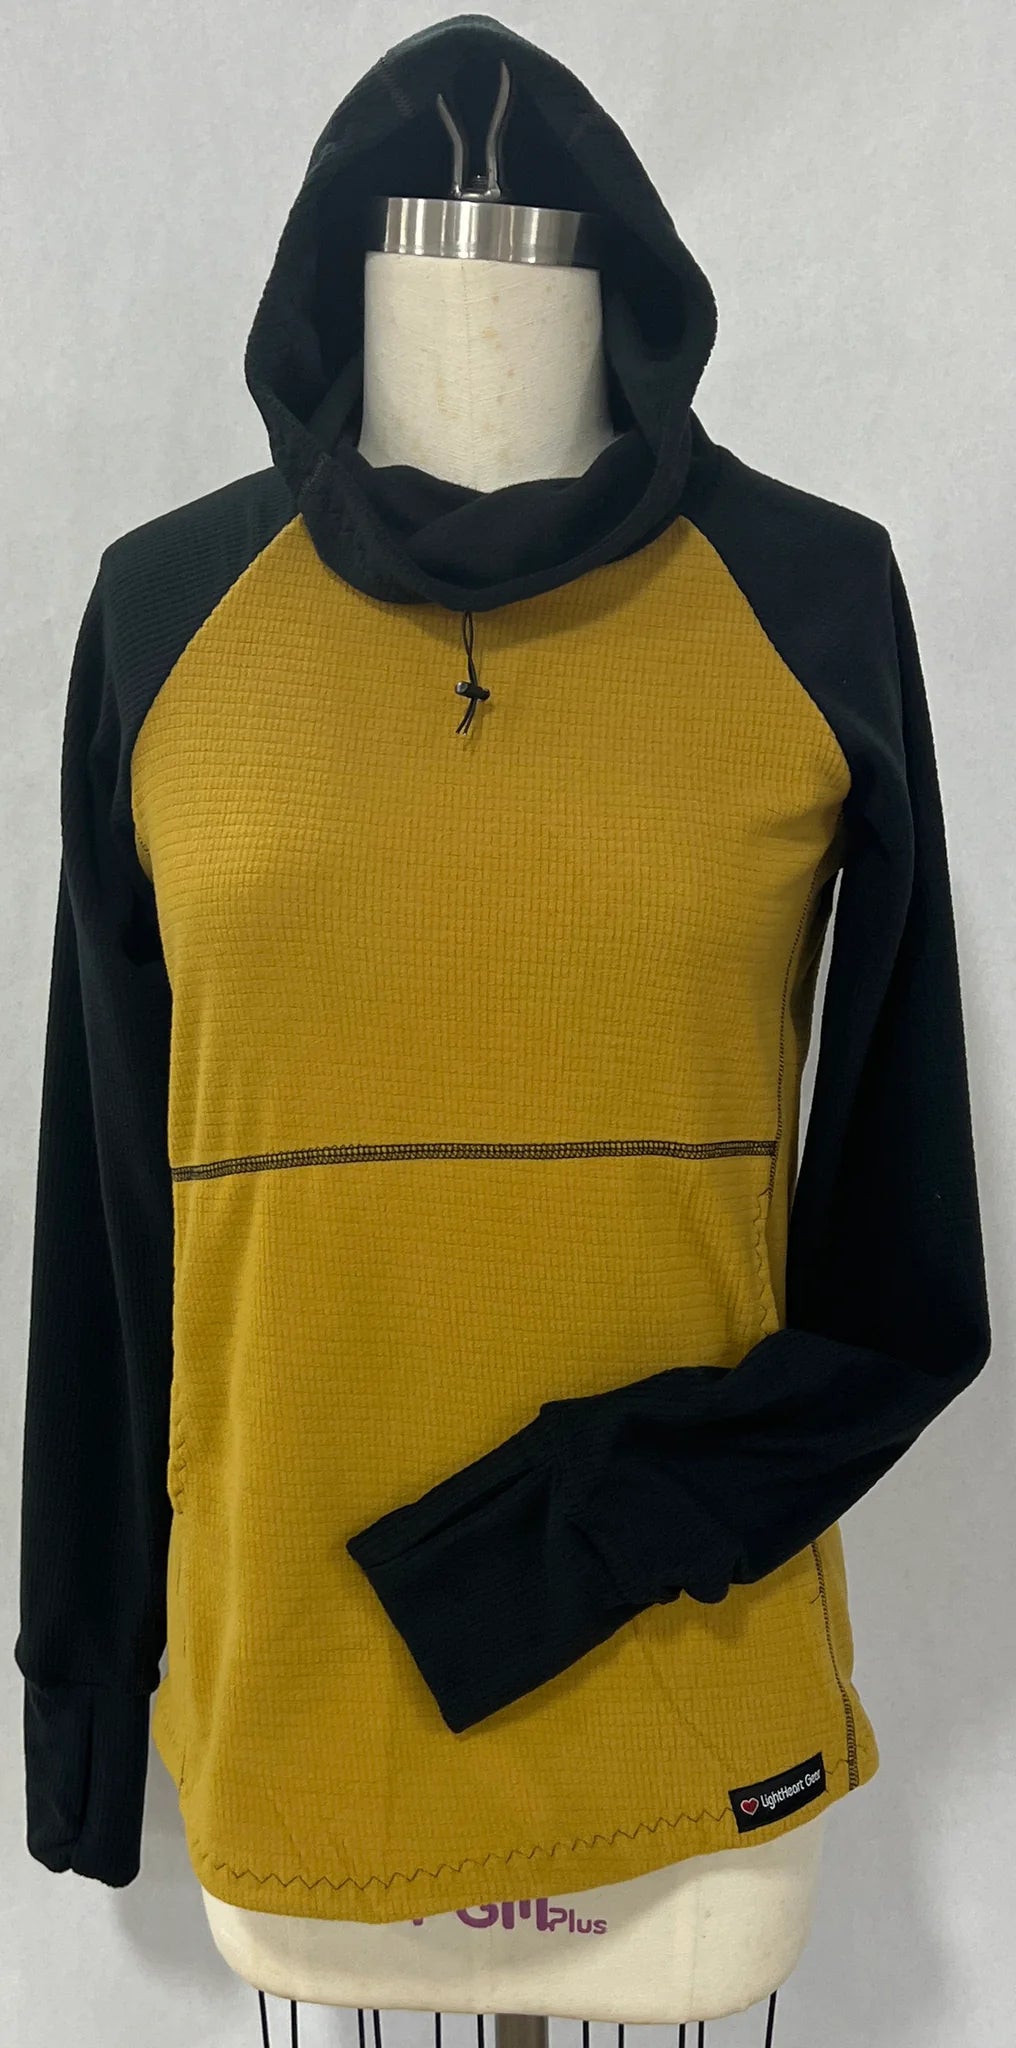
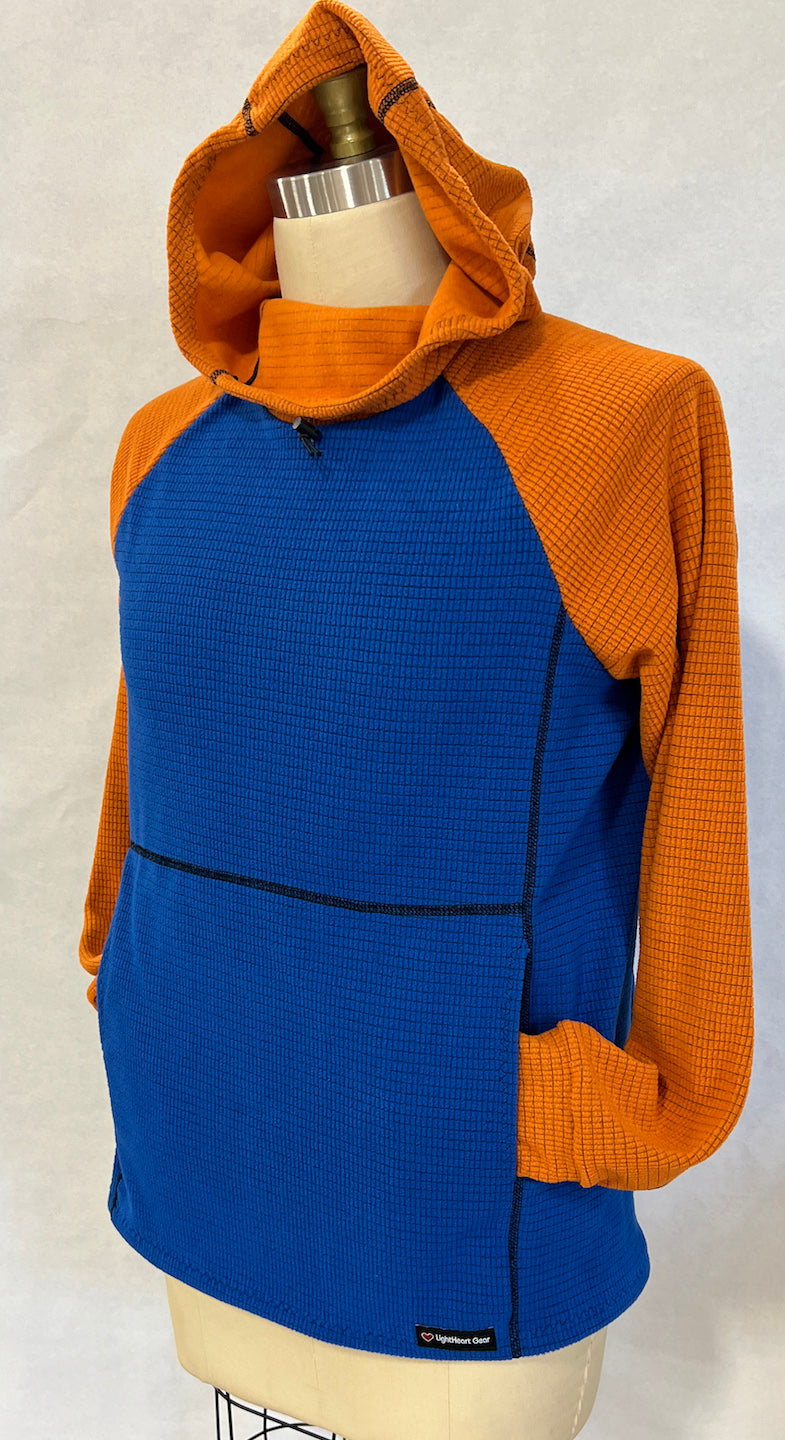
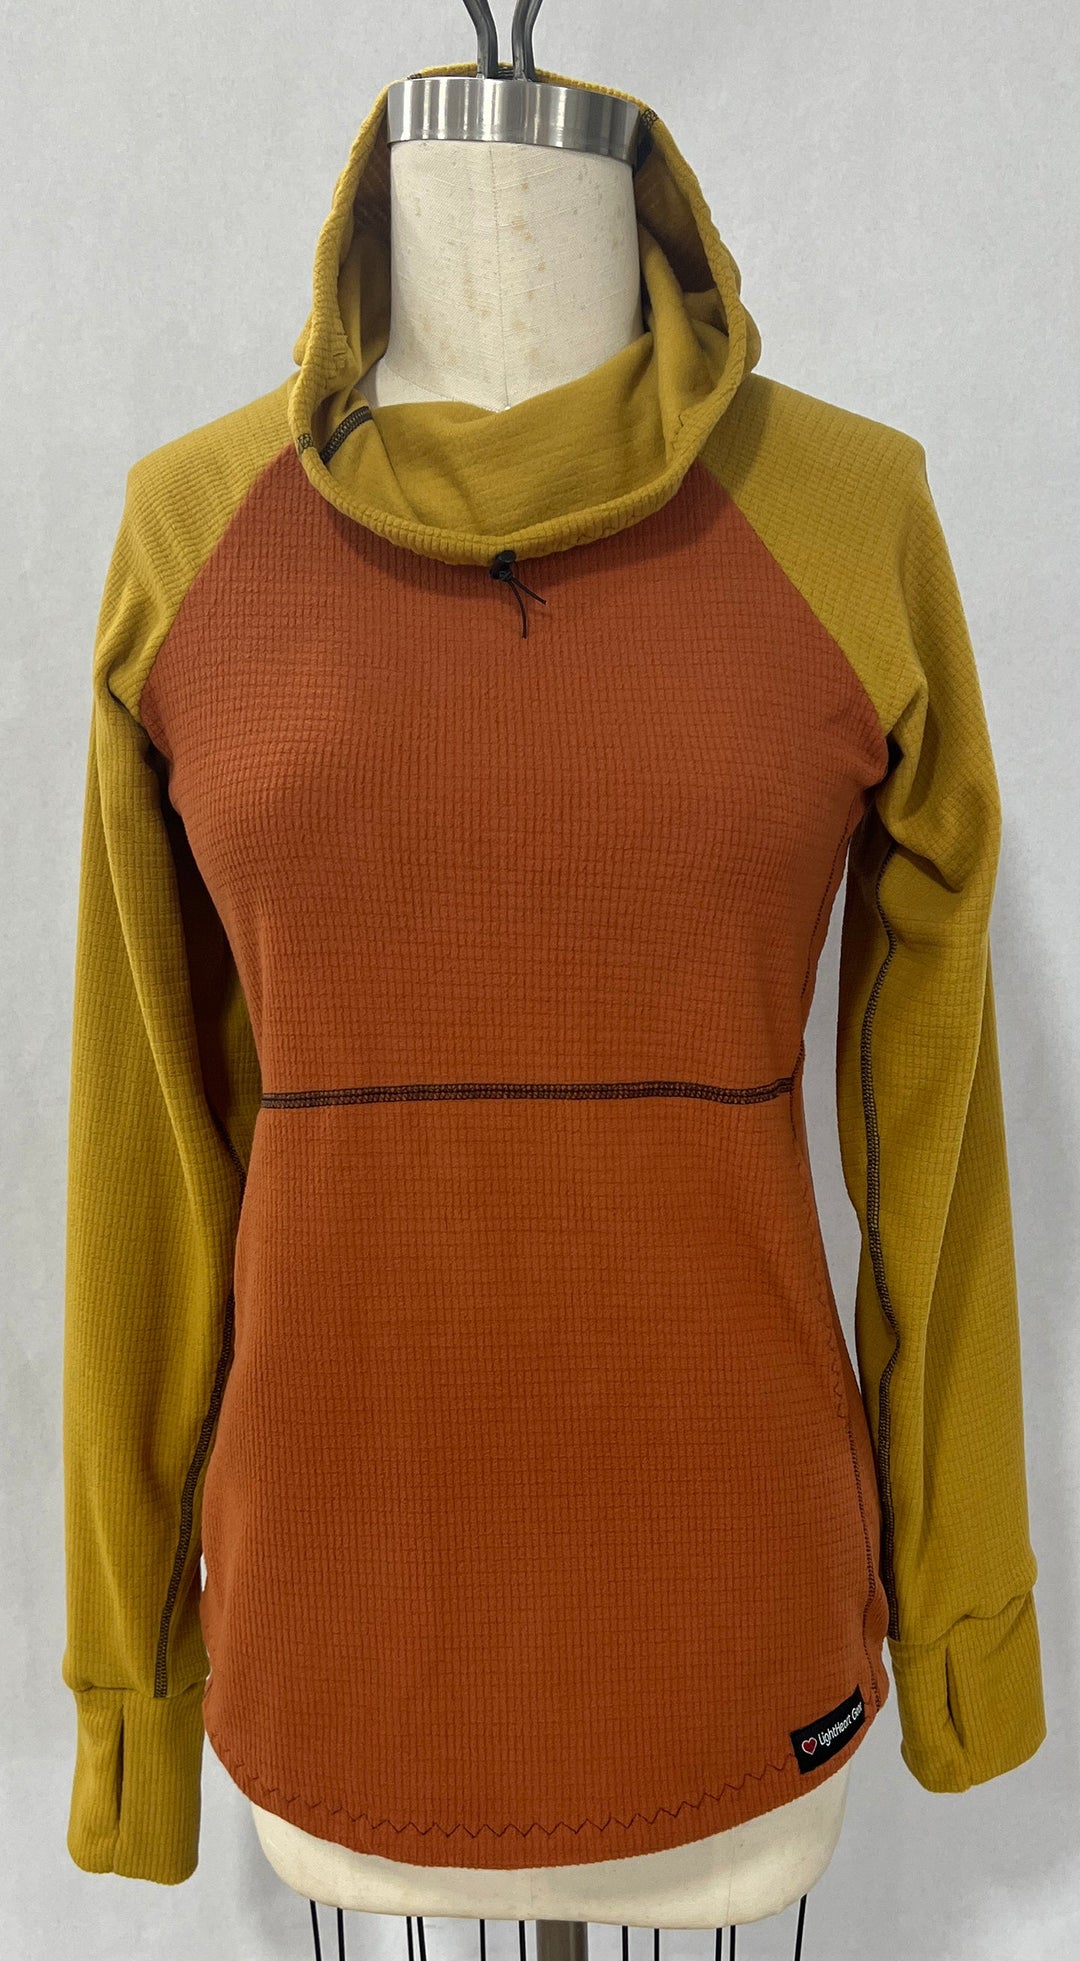
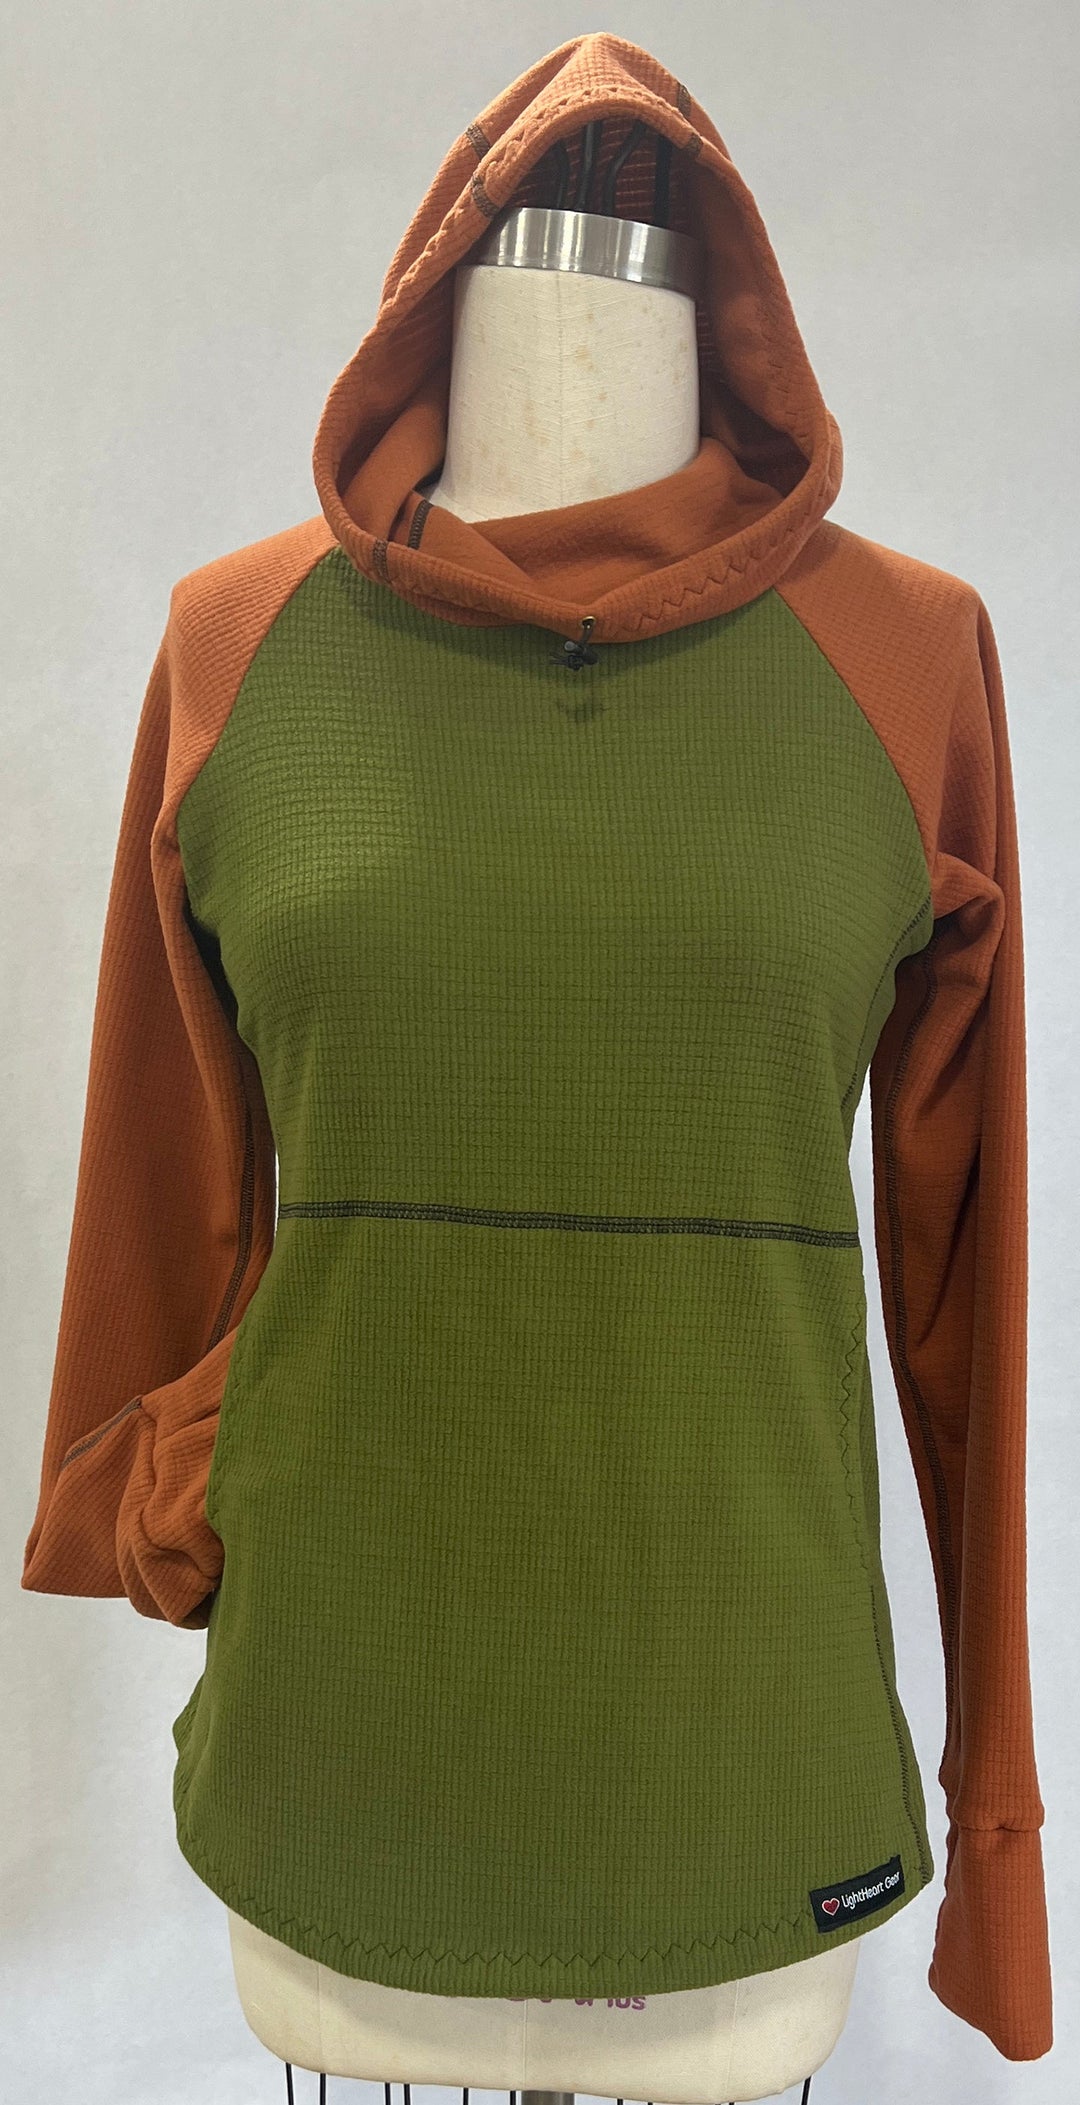
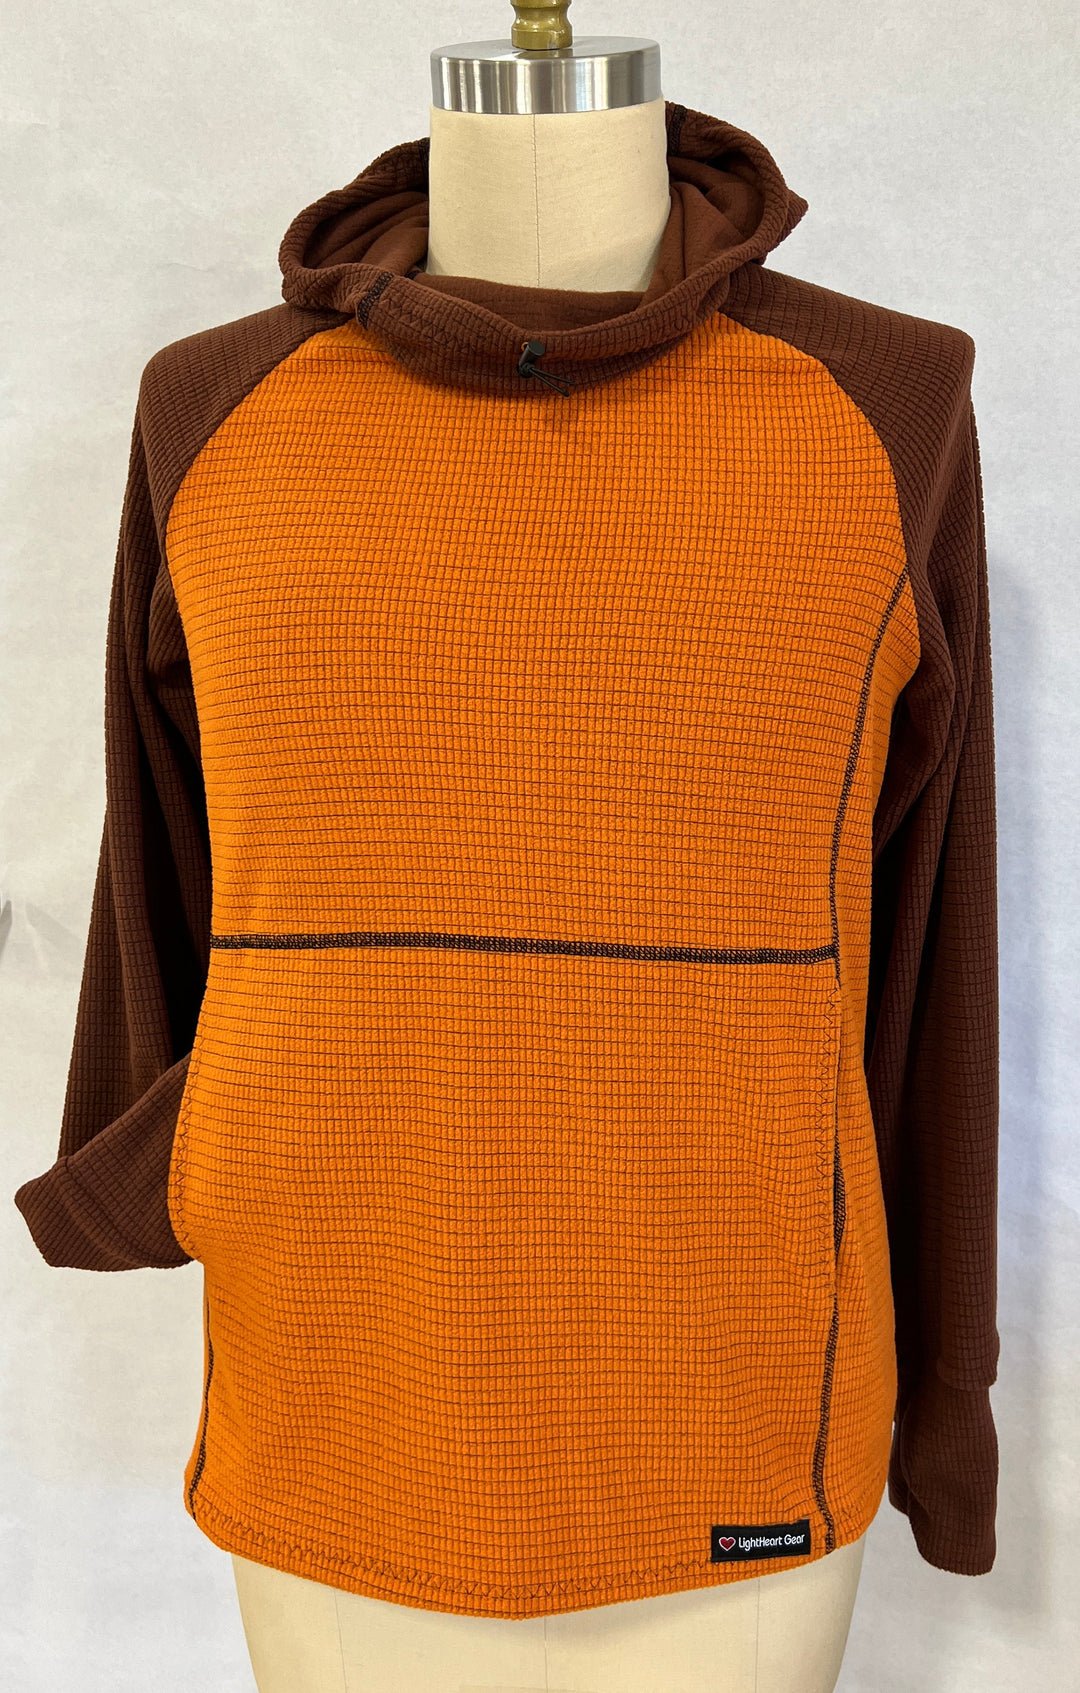
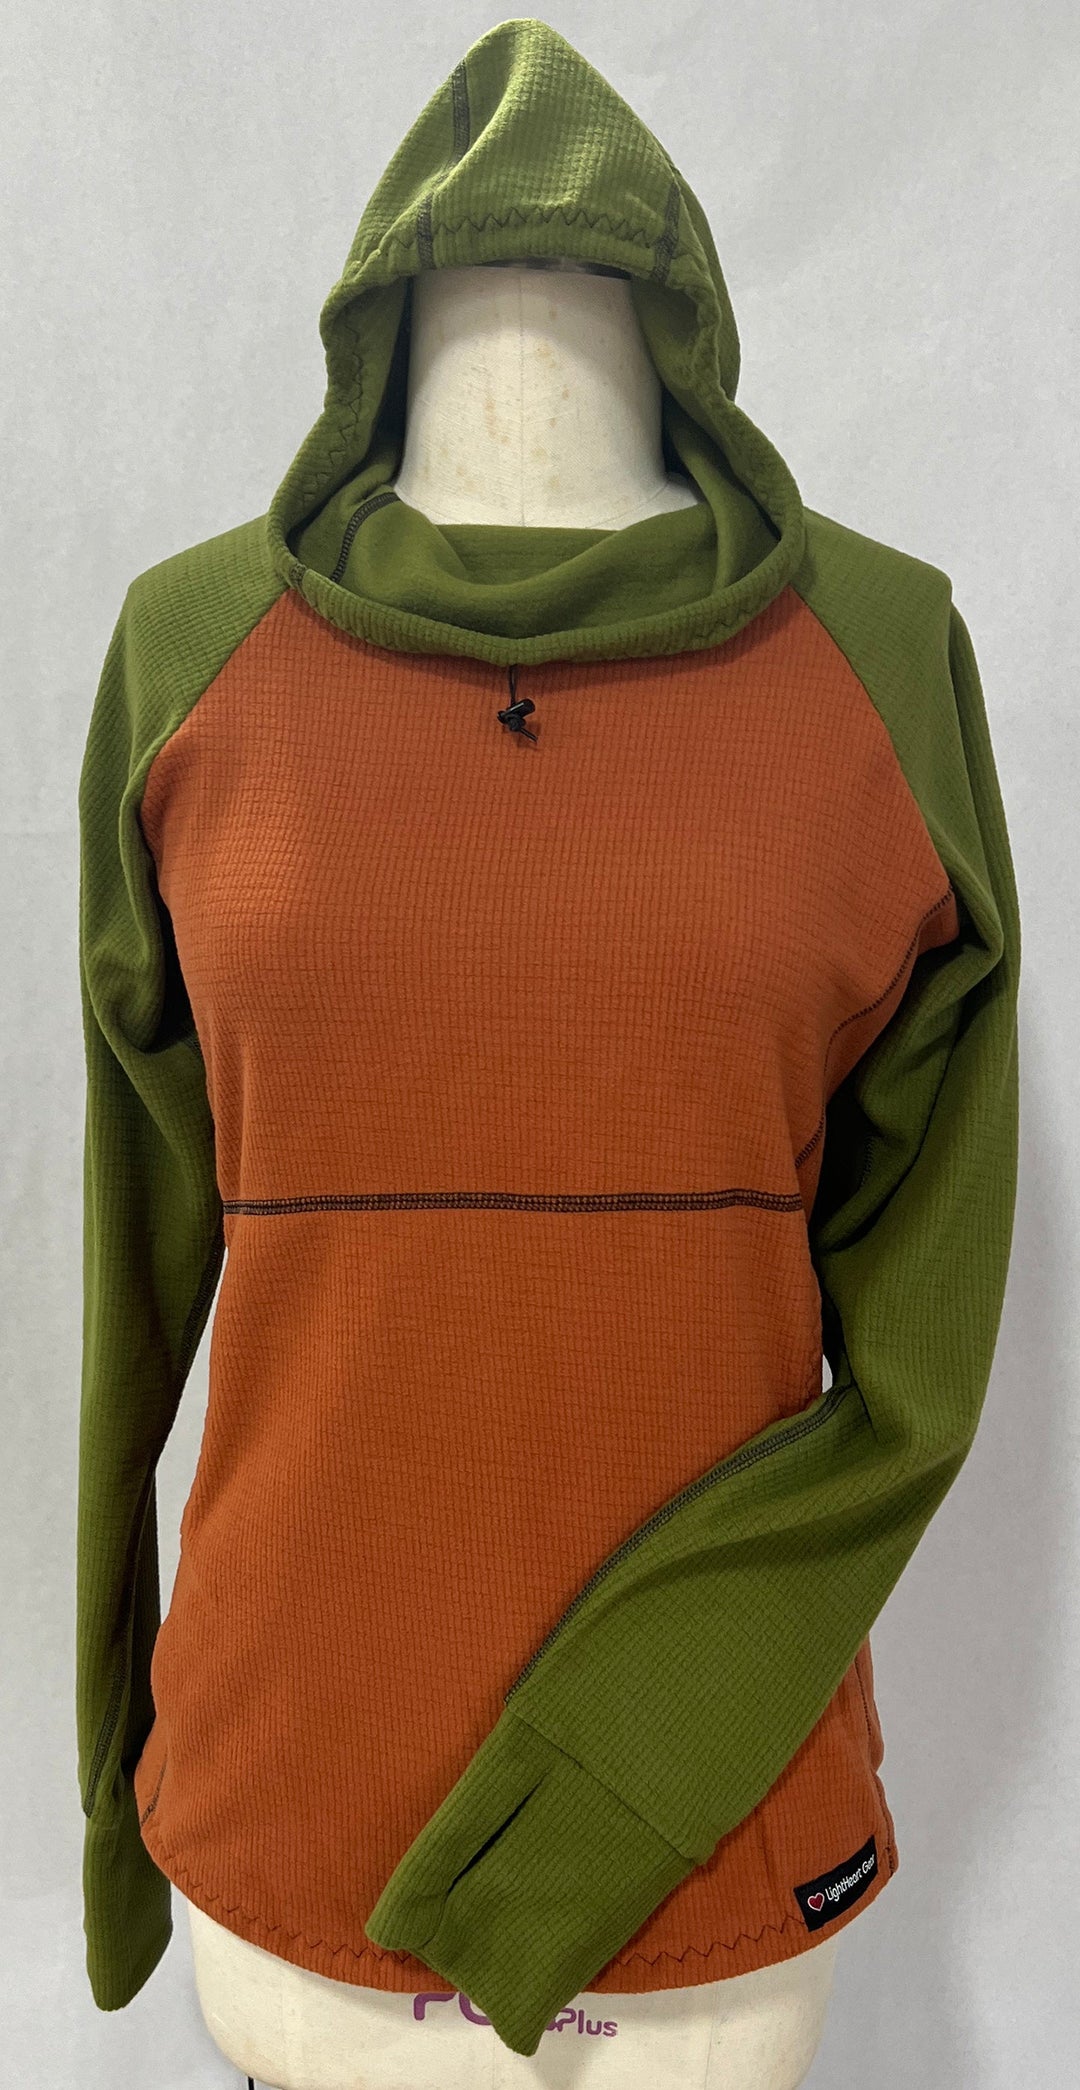
Fleeces, Rain Wear, Accessories and much more for Men and Women